.jpg)
I finished the first bit of the scales in record time, mostly to the tunes of Aladdin and Mulan in case you were interested! So I got it to this point super quick and then added a line of stabilising rings down each edge. These are additional rings that effectively take the place of a scale at the edges so they hang neatly and don't flop about quite so much.
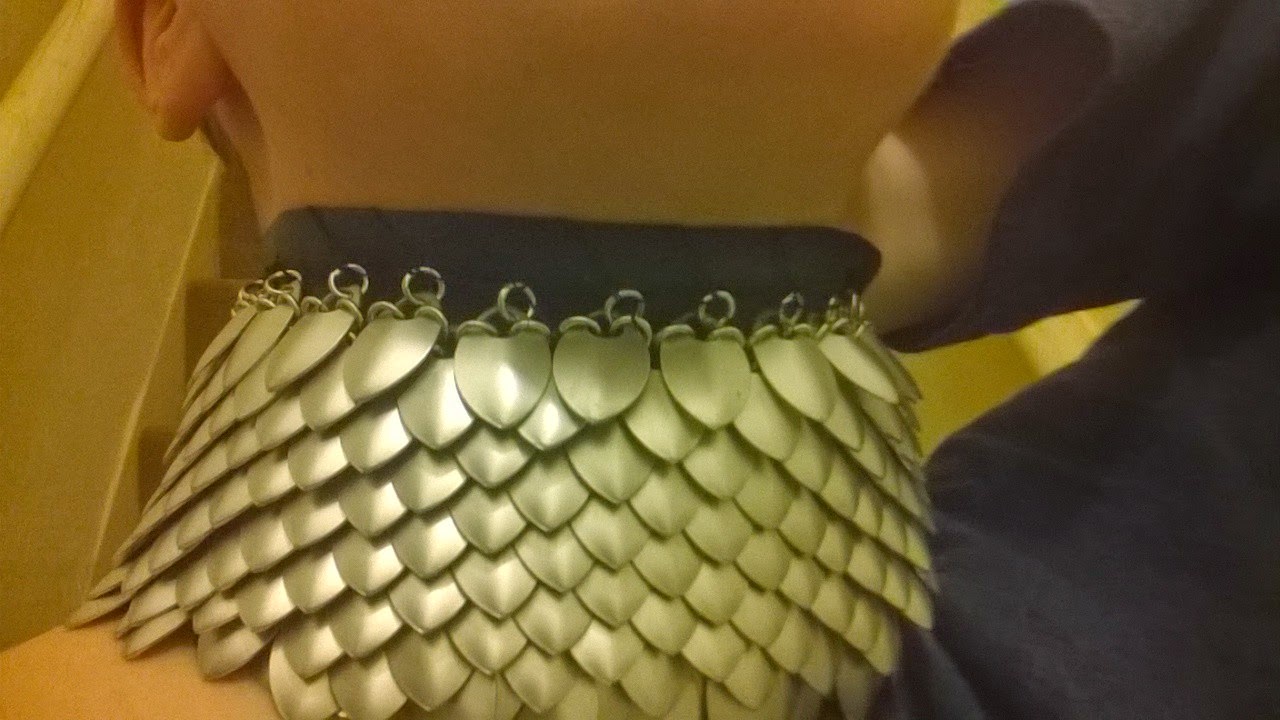
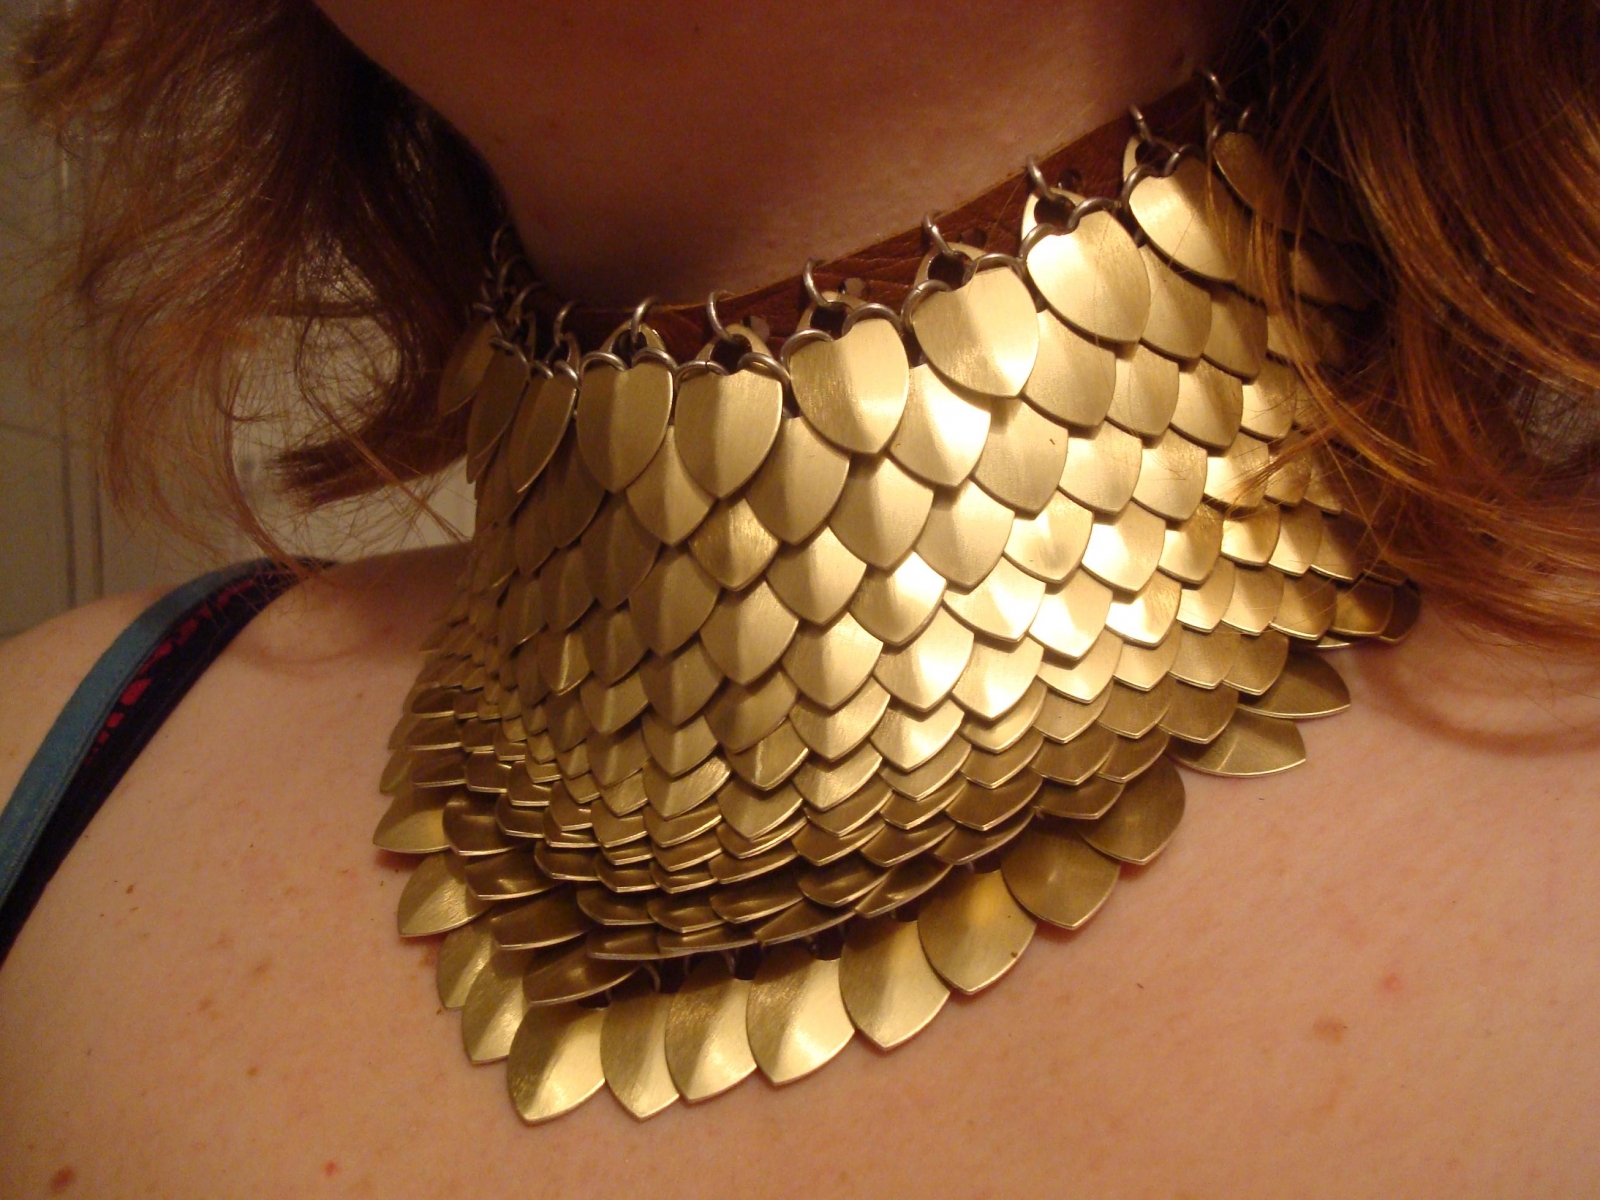
I then decided that I needed to try this on with a piece of leather so I could see how it would look on a real neck. I discovered that it's *really hard* to take a photo of your own neck whilst holding the scales in place so please excuse the photo!
I had some feedback that this looked uncomfortable which is possibly due to the aforementioned difficulty in taking the photo or possibly because it looks like there should be lots of sharp things pointing at my collar bone. The truth is that it's surprisingly comfortable! The scales conform to your neck (or in this case the leather) and shift as you move. The links at the back are saw cut so they match up with no jagged edges or burrs so even without the leather there's no catching or scraping. the scales themselves aren't sharp, the edges are smooth and even digging myself in the hand with them (for science) I can't really do any damage.
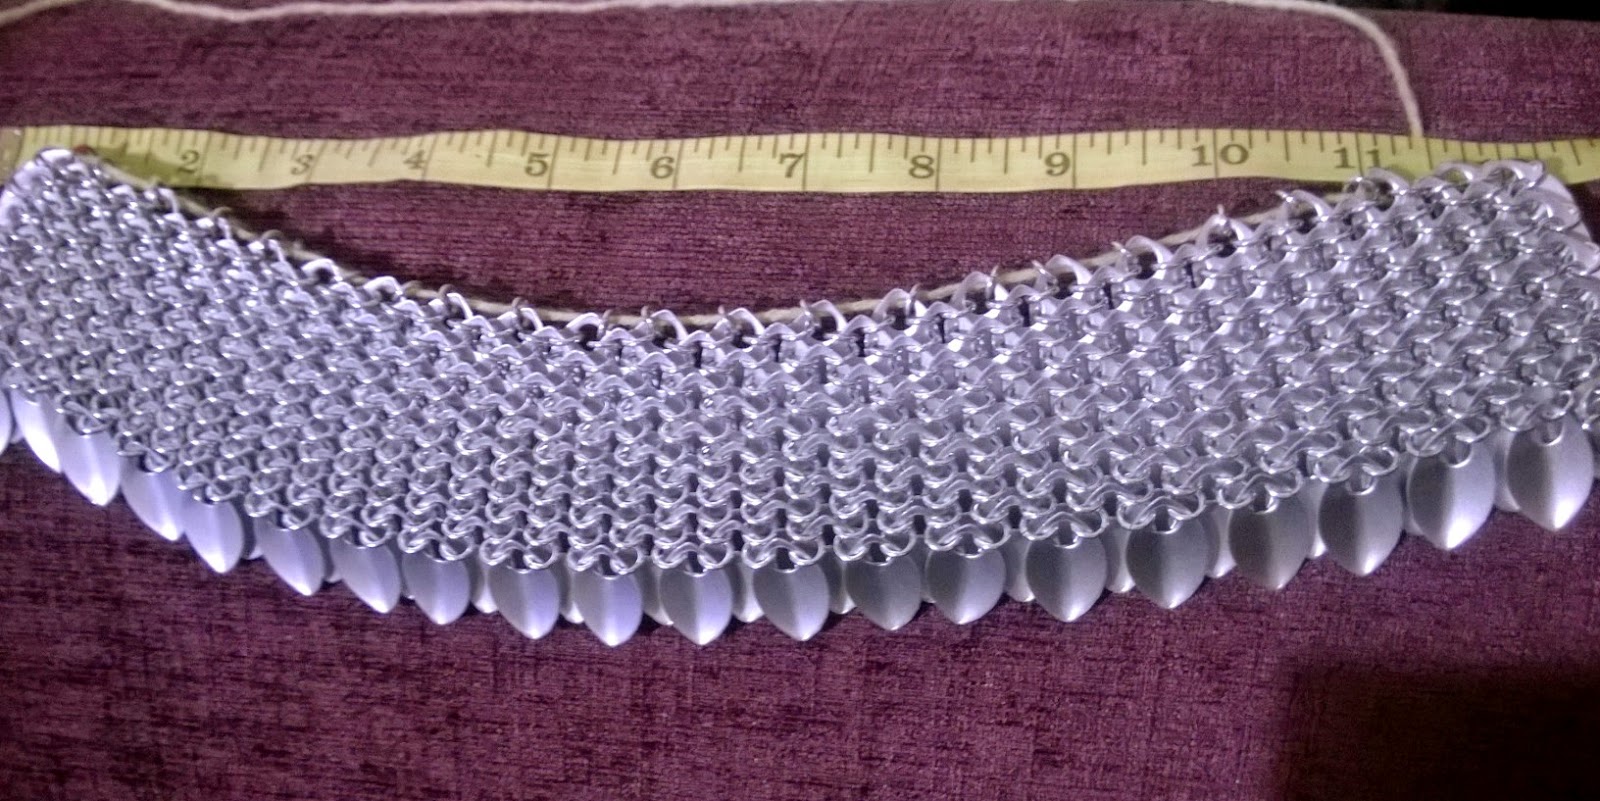
I did a very quick whip stitch to attach the scales to a strip of very thin leather that I had lying around. It's by no means the right type of leather and I really don't recommend stitching jump rings to anything but it gave me a good idea of how wide the leather should be and let me see that the chain was long enough for my neck, leaving a small gap at the back for a buckle or clasp. However, this piece isn't for me and when the owner came to try it on, the chain was a little too short to go all the way round.
I may have learnt the hard way that you really need to remove the stabilising rings before you extend any scale work but once they were out it was actually fairly easy to add in more scales along one edge until it got to the desired length.
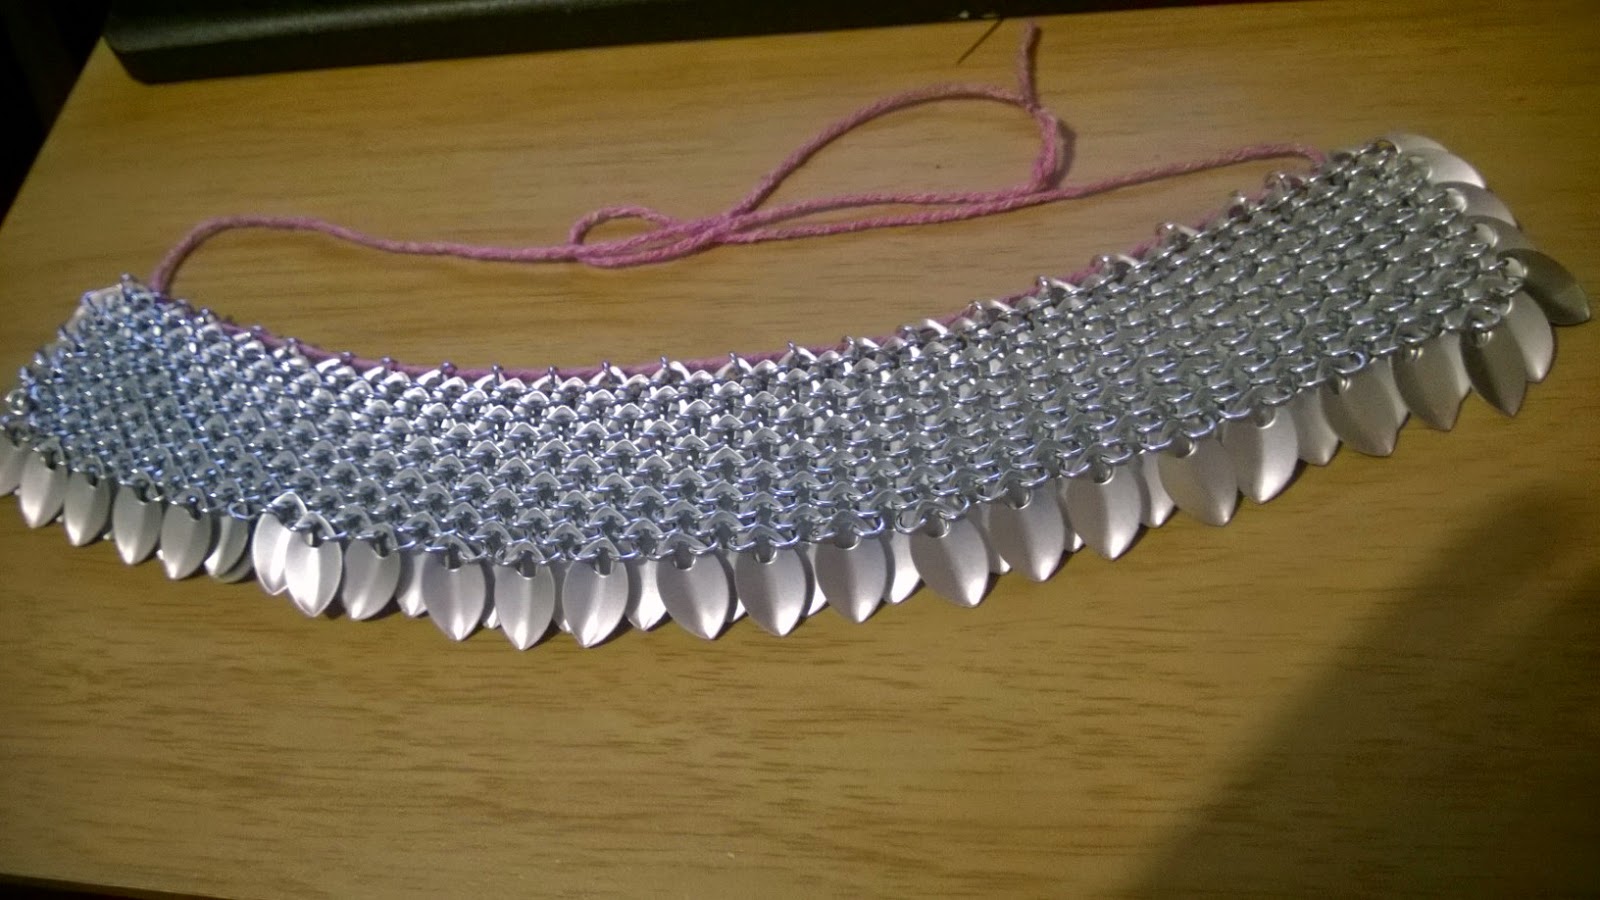 So I am now at this stage. I have extended the work by a couple of inches and now just need to add the stabilising rings to the edge and to the bottom. you can see to the left that some of the scales aren't sitting right but this problem will be solved by the extra rings.
I discussed shaping this piece over the wearer's shoulders or further down his chest to be almost like a gorget but, the wearer intends to wear a collared robe over the top of the scales so he preferred to have it finish just below his collar for comfort.
The next stage will be all about adding a leather collar behind the scales and for that I will be asking a very talented leather working friend for all the help!